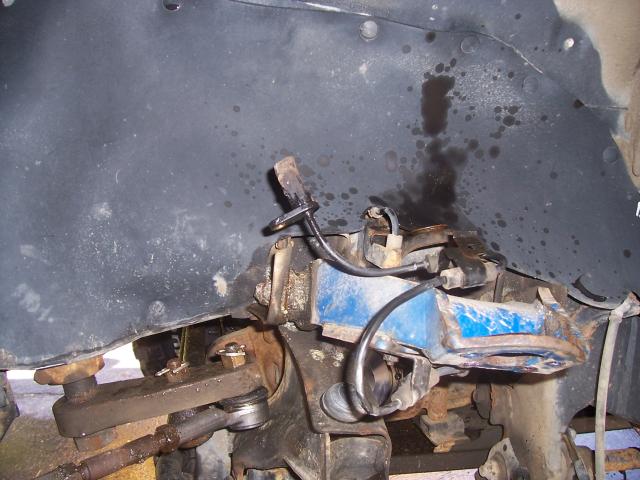
After doing this before, I changed my strategy by taking more stuff off, which really saved me time. A big 1 7/8" socket and a good impact wrench really help. One side took me just over an hour start to finish. Last time I did this, it took all day to do both sides. Replacing the whole LCA is a two-day project, so avoid that if you can.
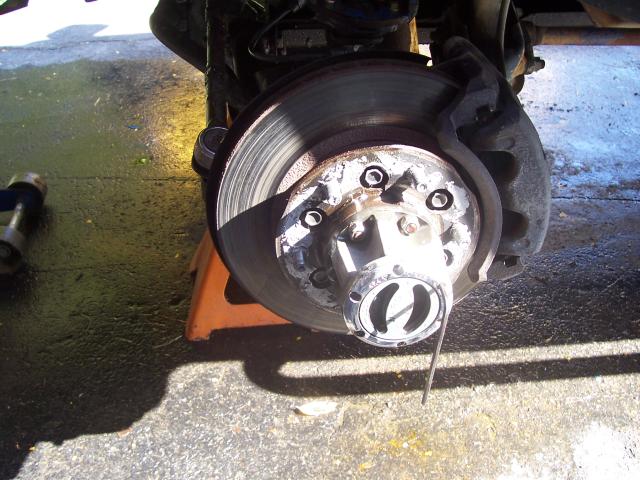
First remove just the outer part of your manual hub with 5/32" Allen wrench. If you have auto hubs, you will have to remove the whole hub.
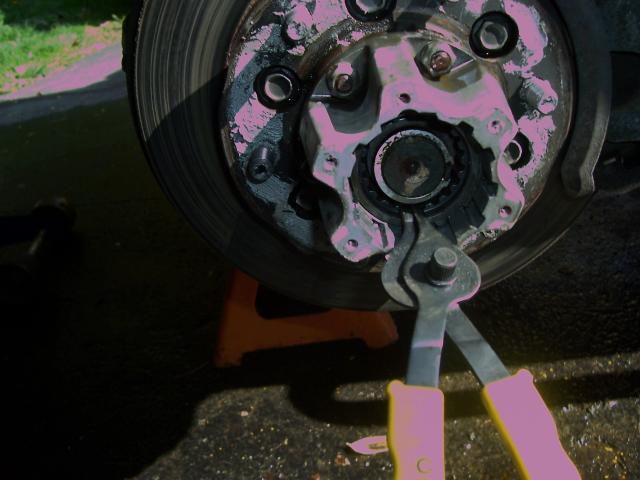
Using a pair of snap ring pliers, remove the snap ring from the half shaft.
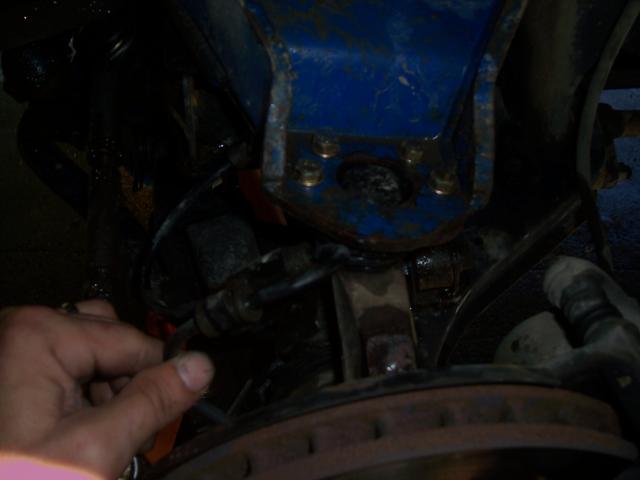
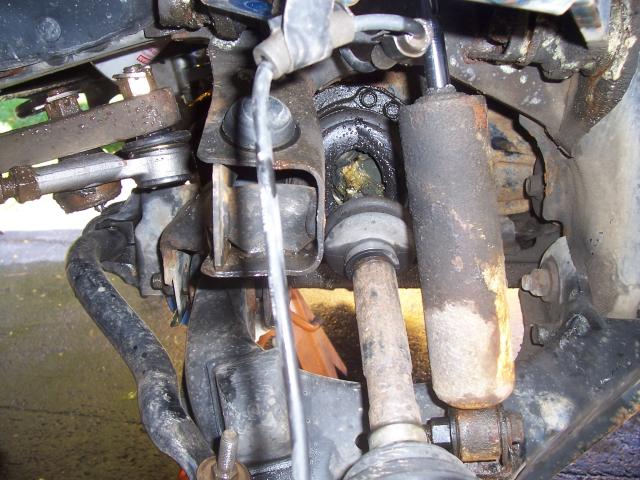
Since I planned on taking off the entire knuckle and hub assembly, I removed the ABS sensor line. You don't have to do this, but this is what saved me time in the end. Remove the outer TRE by removing the cotter pin and the nut with a 22mm socket. Put the not back on until the bolt of the ball joint is almost to the end and whack with a BFH. It will pop out with a few blows. Do not use a pickle fork as you will ruin the boot and possibly the ball joint. If you have aftermaket UCA's, unbolt the four bolts. This makes it easy. If you have stock UCA's you will probably have to use a pickle fork here due to lack of room for hammering. Personally, I almost never use my pickle forks or ball joint puller. I almost always pop them out with a hammer.
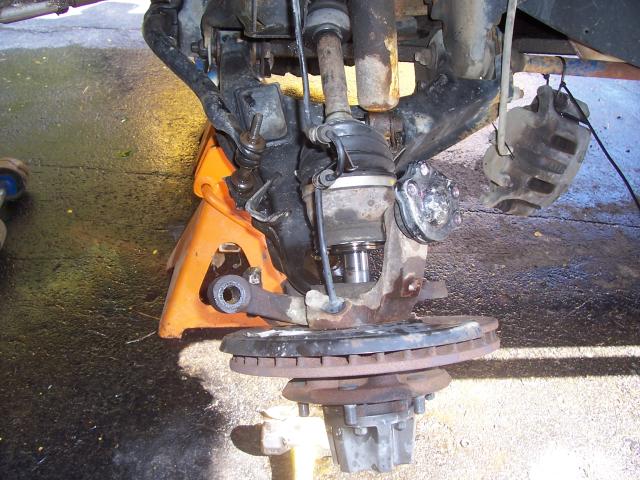
This is not a good thing to see: A completely torn inner CV joint bellows. Luckily, I have a cashe of extra half shafts.
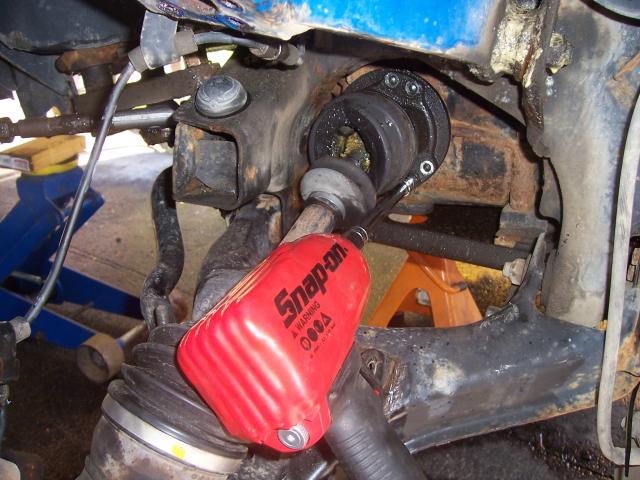
Either way, remove the half shaft to make room. Again, you don't have to, but it will save you time in the long run.
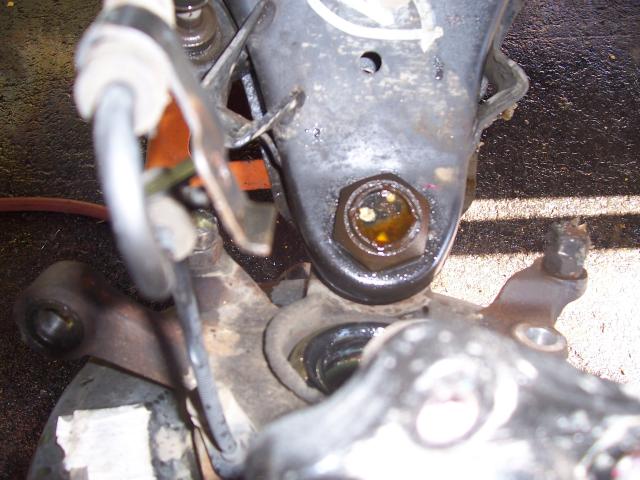
You now have a clean shot at that big nut on top of the lower ball joint.
...................Continued.....................: D